


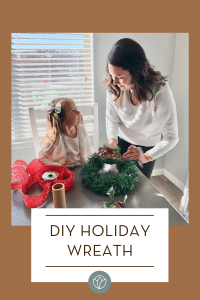
Crafting is a favorite holiday activity for moms and kids! However, it can feel a bit overwhelming when you have half-finished projects and supplies spread across your dining room table. It’s dinnertime and the options are to find a new place to temporarily move the crafts (because we all know how clear our counters are…) or to switch dinner to a living room picnic.
If crafting is something your family loves to do, it may be time to create a designated area to let that creativity flow. Our partner, American Home Furniture & Mattress, has some great ideas on how to take your home crafting to the next level!
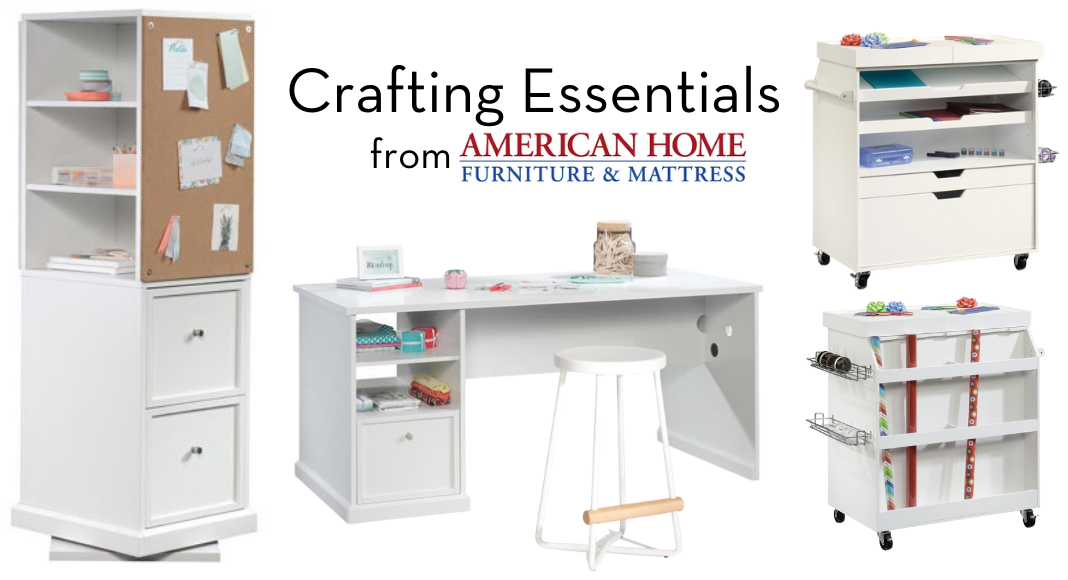
Crafting Tower; Crafting Table; Crafting Stool; Craft Cart
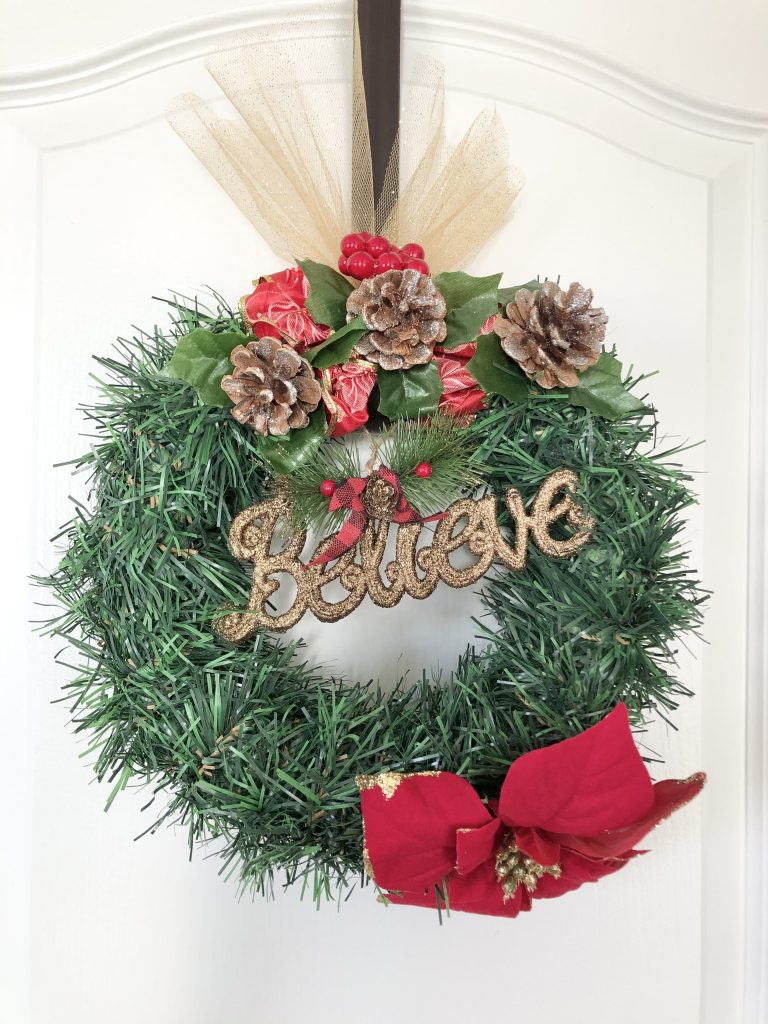
Read on for simple steps for a DIY holiday wreath your children can help with.
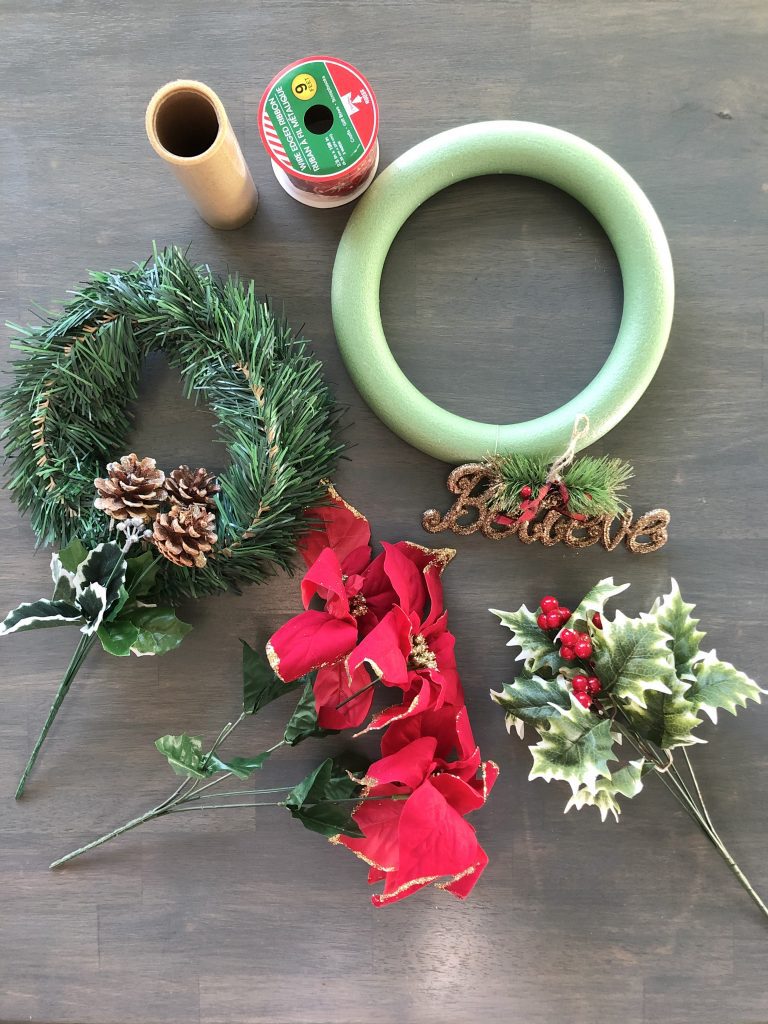
1. What you’ll need!
- Wreath ring
- Wire garland
- Ribbon
- Gold glitter tulle
- Holiday inspired faux leaves/flowers
- Scissors
- Hot Glue
* I found my wreath supplies at my local dollar store in the craft section.
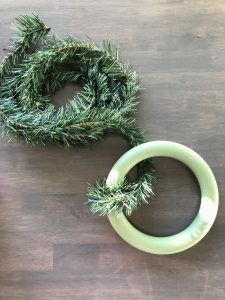
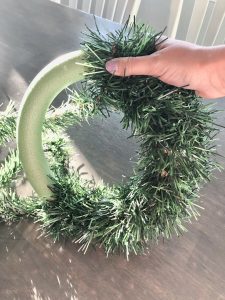
Step 1
- Use the wire garland to wrap around the wreath ring until you reach your desired fullness.
- Tie a knot to secure or use hot glue.
Step 2
This is where you can really get creative!
- To attach the ribbon, use hot glue.
- Wrap the ribbon, twist or create bunches to fan out the ribbon.
- Cut the flowers or other décor from the wire stems.
- Push them into the wreath ring or use hot glue.


Step 3
This is a fun DIY that children can also help with!
*Make sure to supervise the use of scissors and hot glue.
- Add the rest of your décor to your wreath
- Tip: Place your décor on your wreath before you glue it, this way you can move it around if you don’t like the placement.
- Tie the tulle as a topper to hang your wreath or tie small pieces around the wreath to add some sparkle!

Step 4
Display your DIY holiday wreath!
- Use an over the door hanger to display.
- Command hooks also work well if you want to display your wreath on a wall or mirror.
The best part of DIY is that you can make this craft your own! Make this DIY holiday wreath any time you’d like some festive decor. Another idea is to have your children choose the theme!
Happy Creating!


