


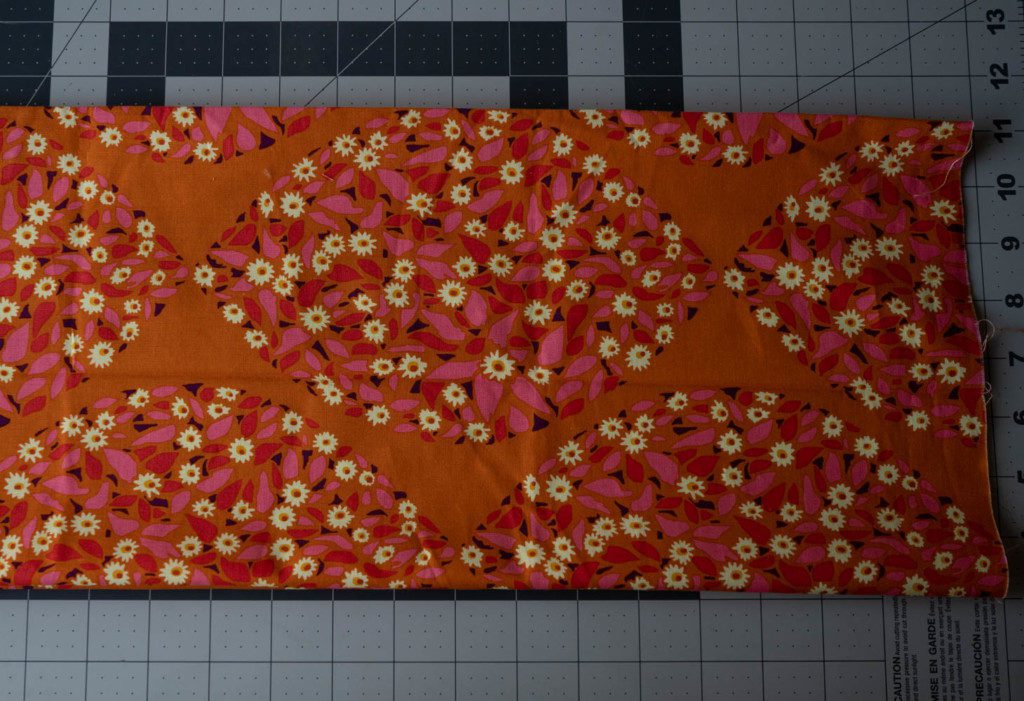
I decided to make a rice pack for myself to keep warm, and after quickly finishing, decided to make several! My kids love when I toss a warm pack on their feet while watching a show before bed, and I love snuggling up with a few, too! I’ve made them in several sizes, and you can easily customize your own, but to make it simple, I’m going to use a size of fabric that you can easily buy pre-cut from a quilt shop: a fat quarter.
Materials
- fabric (a fat quarter is 18″ x 22″)
- rice (5 pound bag)
- funnel
- sewing machine
- thread
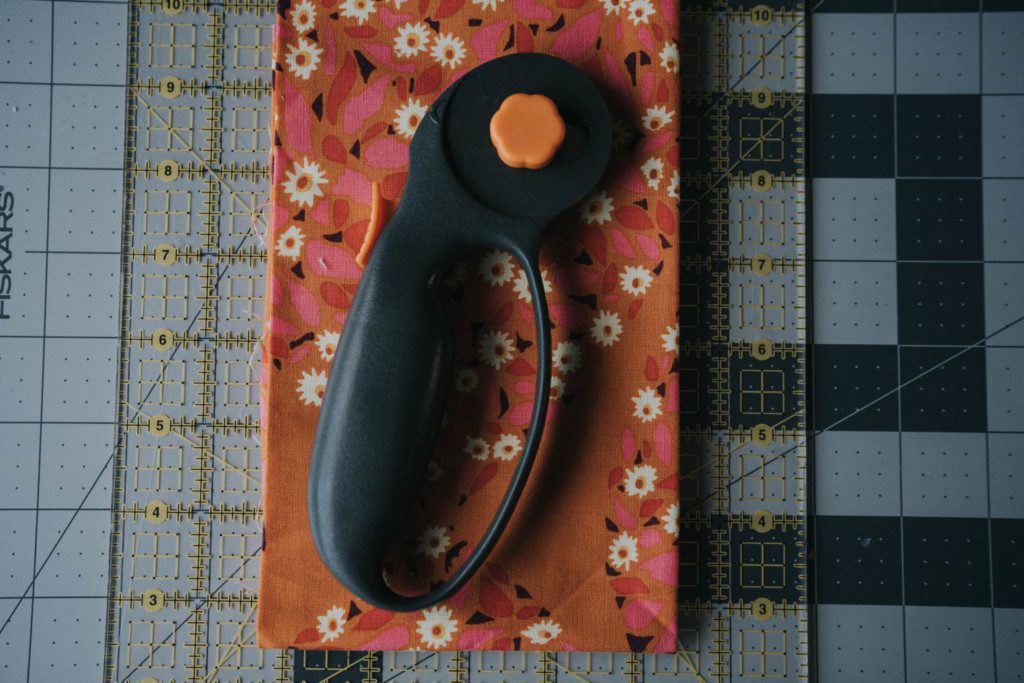
- scissors or rotary cutter, cutting mat, and ruler
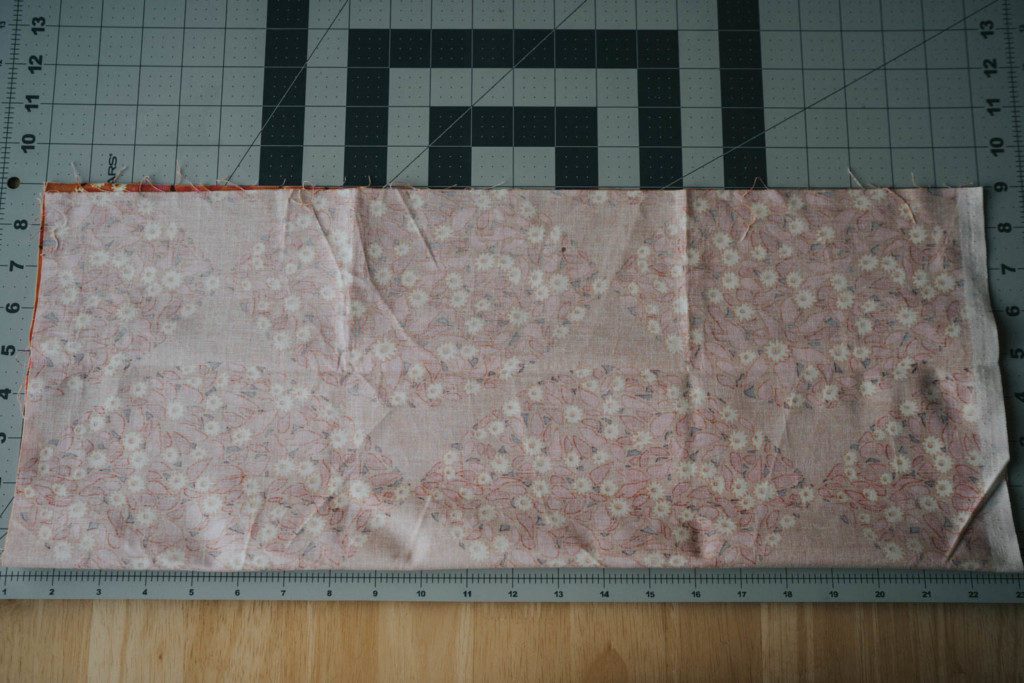
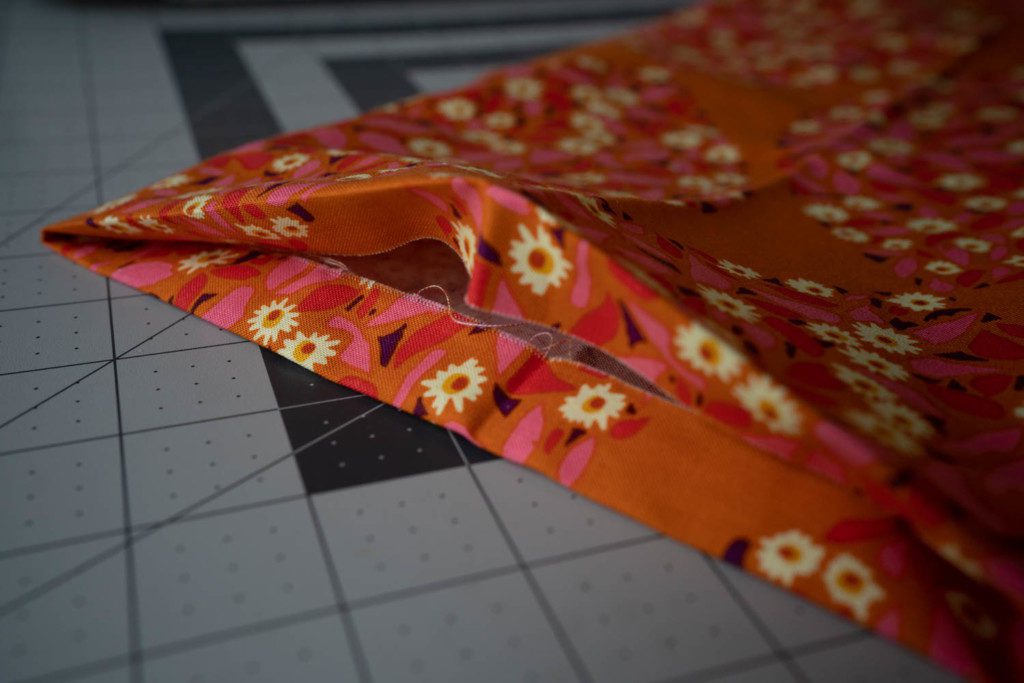
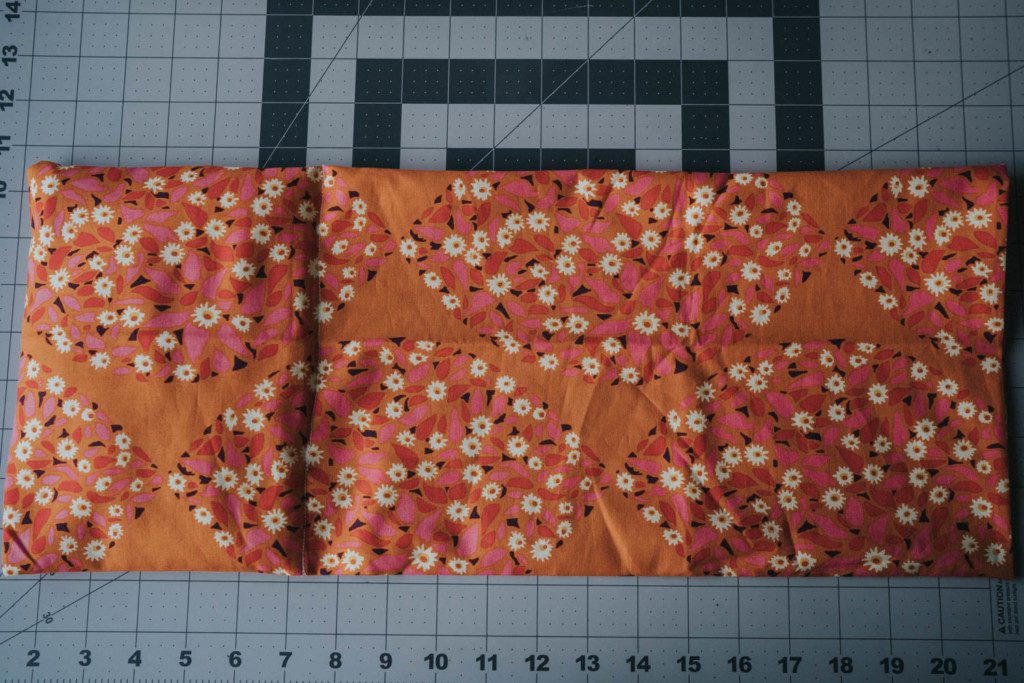
The first step is to fold your fabric so it’s 9″ x 22″, patterned sides (or right sides) together.
Pin two sides—one long, one short—and sew those two sides closed, as pictured below.
Turn right sides out.
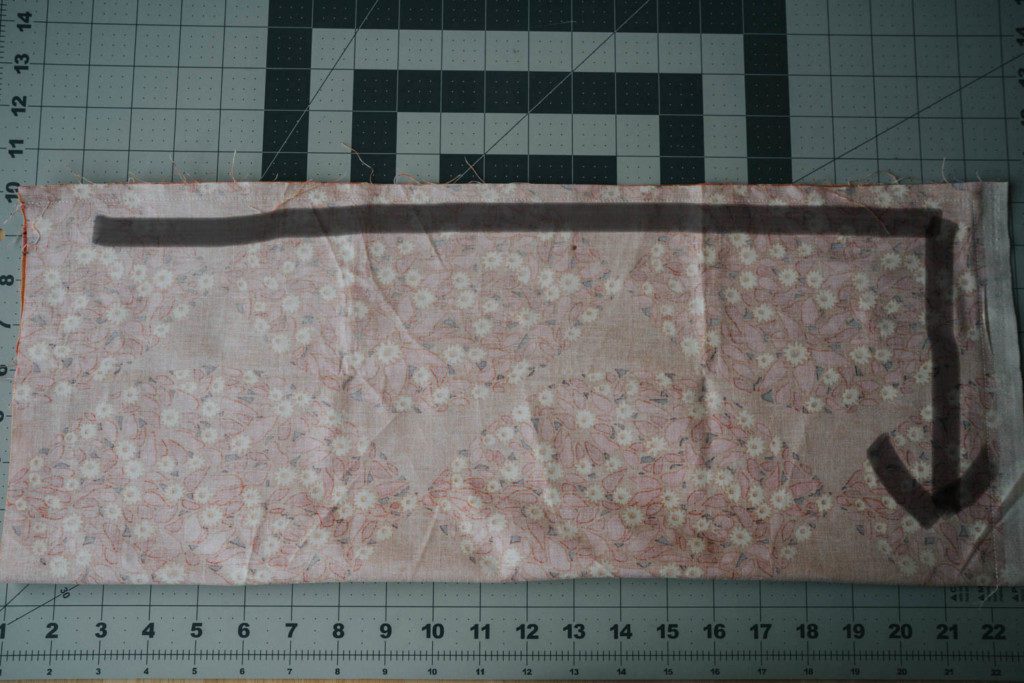
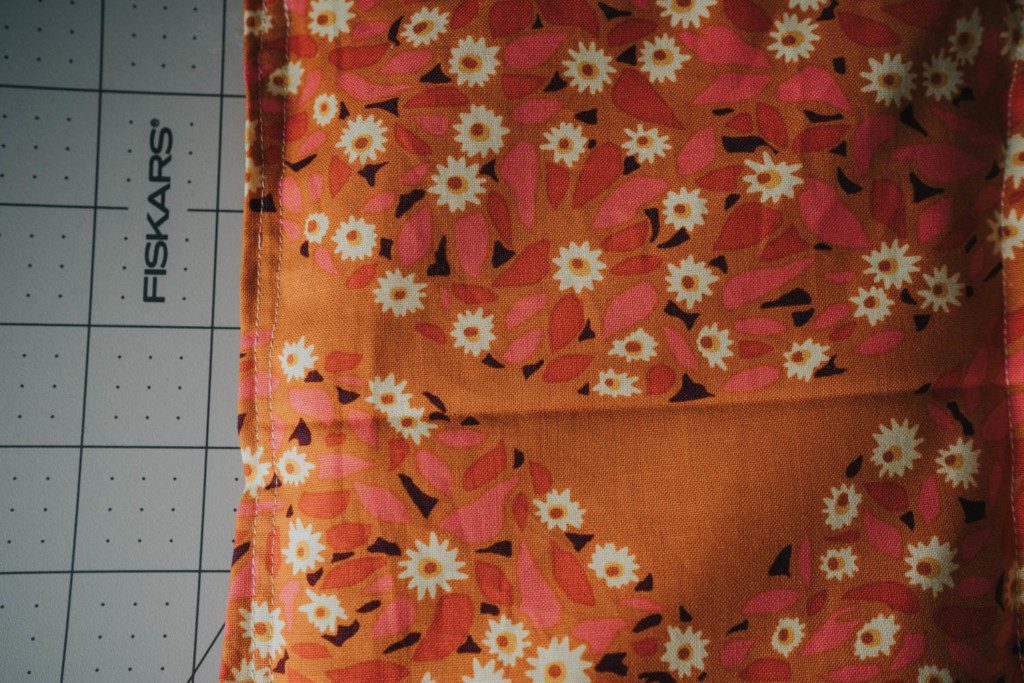
The next step is to fold under the raw edges on the side that is open and to finger press so they stay folded. If you prefer, you may use an iron, but finger pressing works just fine for me.
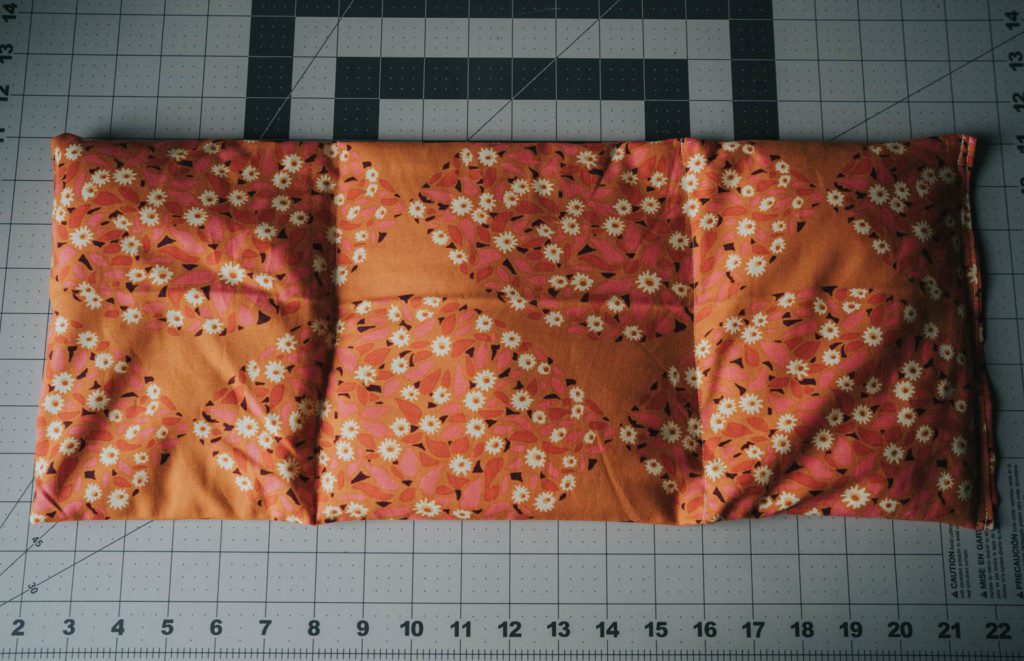
Once the outer edge is folded over, lay the fabric out and measure it. I split mine into three sections, but you may do two, four, or just one—whichever you prefer. This is just to keep the rice from all pooling on one side of the pack.
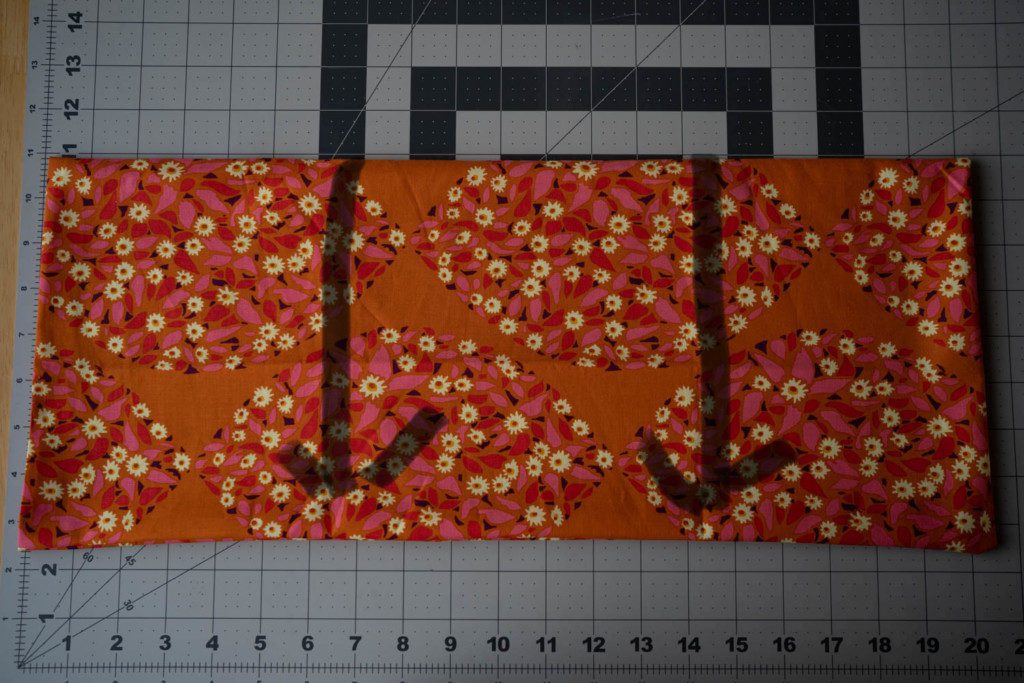
I folded and finger pressed my lines, but feel free to use a pencil to mark where you want to divide your pack.
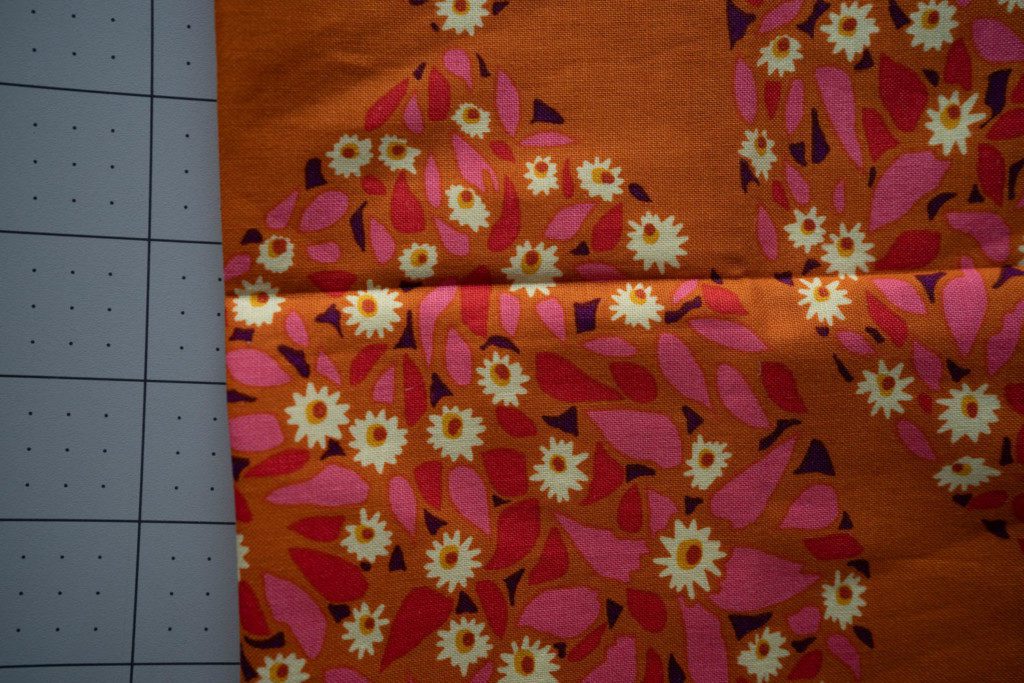
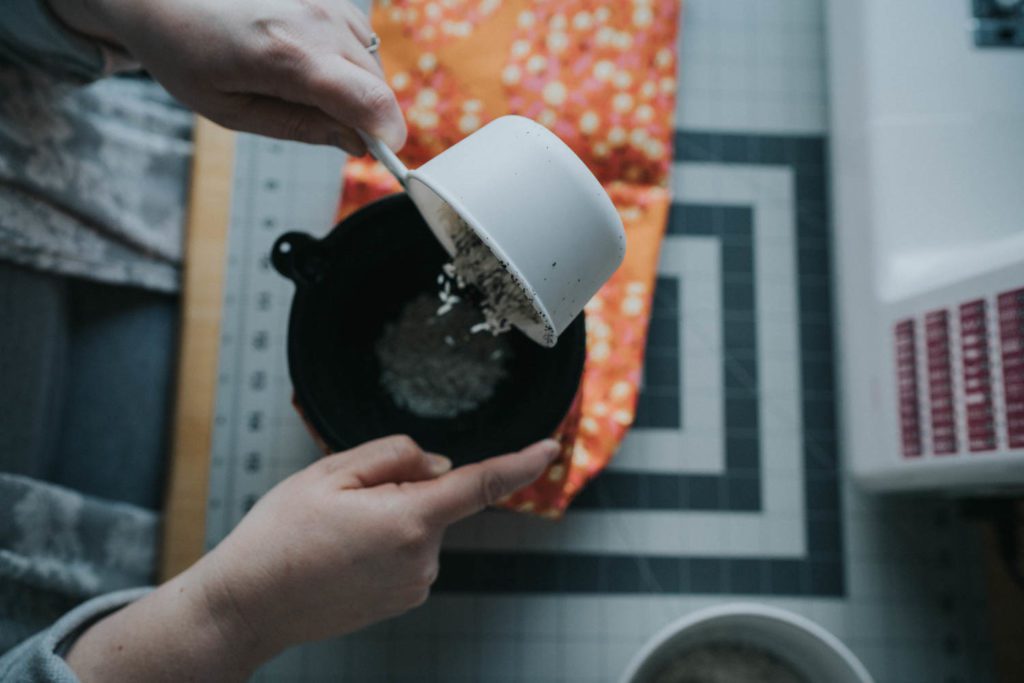
Pour a few cups of rice into your pack, then sew all along the first line on your fabric. Be sure to sew from top to bottom so the rice stays contained in this section.
Exactly how much rice is up to you. You might like less, so it’s kind of flexible, or you might like it almost completely full. Please consider that the more rice in each section, the more challenging it will be to close that section without rice spilling all over your machine and table. Ask me how I know—ha!
Pour a few more cups of rice into your pack and then sew that closed.
Once your final section has been filled, it’s time to close it up. Try to get the rice as far down and away from your sewing machine as possible. It might be tricky, and you might spill some rice, so please be prepared for that.
I sew twice at the end because my kids do not understand gentle and I worry that they’ll throw my packs and rice will go flying through my house, but if that’s not a concern for you, just close it up!
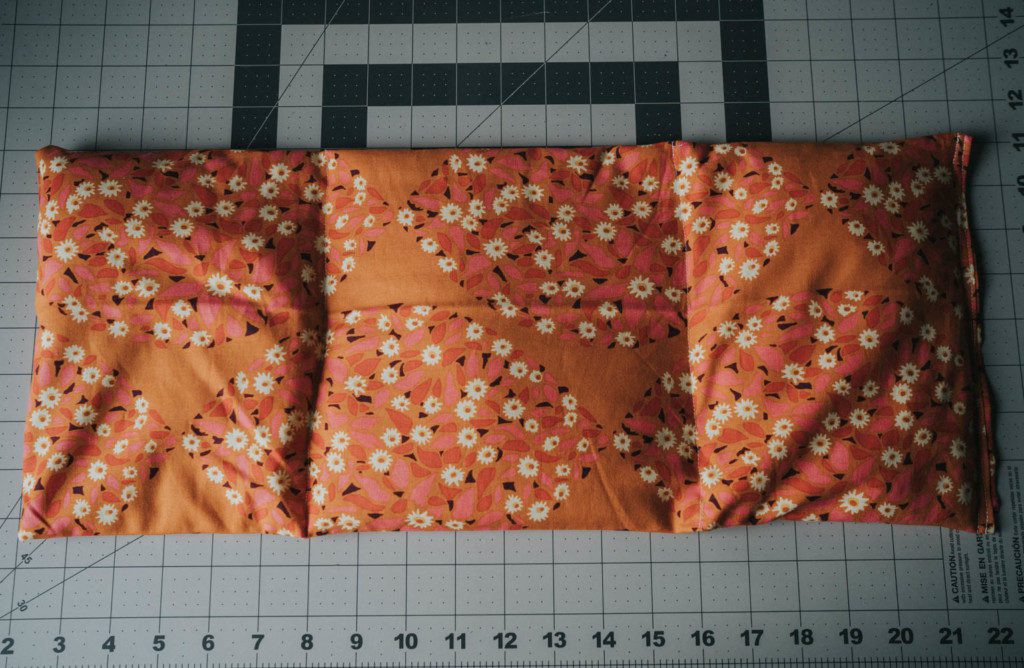
That’s it! This is a great project to do with your kids. Let them pick out fabric prints, do the finger pressing, measuring (math skills!), and even fill with rice. If your kids are old enough to operate a sewing machine, this is a great project to practice sewing those straight lines.
We’ve now had the opportunity to use our packs both to keep warm and as a cold pack. For a warm pack, heat in the microwave between 1.5 and 4 minutes. Maybe check every 30 seconds or so after two minutes to ensure you do not burn yourself. For an ice pack, just leave your pack in your freezer and apply as needed to your bumps and bruises.
I hope that this was helpful and that you now have the confidence to make your own rice pack!
Originally published February 2019.


